
 Tags: Charges, D365FO, Electronic reporting, Full Edition, Invoice
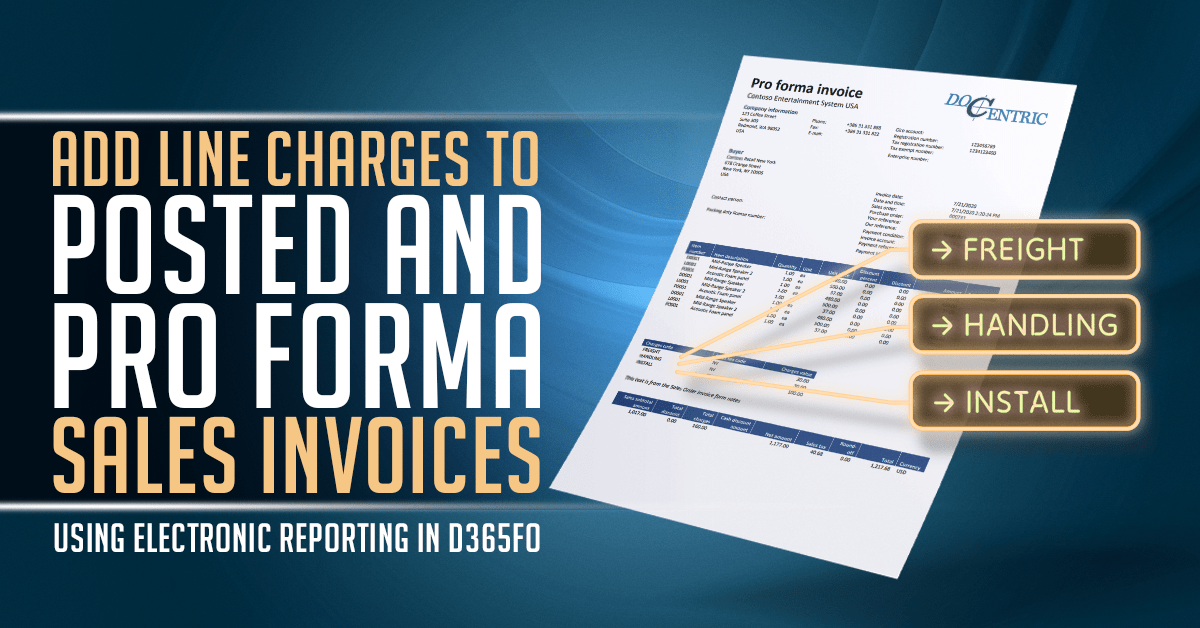
Charges such as freight and handling are often added directly to sales order lines. Although Dynamics 365 Finance includes them in the invoice total, the standard Sales Invoice report doesn't show them separately. As a result, customers cannot see how the total amount was calculated or which charges apply to each invoice line.
This article extends a derived Invoice model mapping in Electronic Reporting (ER) to expose line charges in the report data source, allowing them to be printed beneath their corresponding invoice lines.
Understanding the Data Relationship
Before creating the mapping, we first need to understand how Dynamics 365 Finance stores the relationship between invoice lines and their charges.
The standard Invoice model mapping already provides the invoice lines, but it doesn't expose their charges. Those are stored separately in the MarkupTrans table.
Inspecting the MarkupTrans table shows that it doesn't reference an invoice or sales order directly. Instead, each charge is linked to another record through TransTableId and TransRecId.
This is where the challenge begins. A posted invoice line is represented by CustInvoiceTrans, while a pro forma invoice line still belongs to SalesLine. As a result, TransTableId in MarkupTrans references different tables depending on whether the invoice has been posted:
- For posted invoices, MarkupTrans.TransTableId and TransRecId fields reference the corresponding CustInvoiceTrans record.
- For pro forma invoices, they reference the original SalesLine record.
The diagram below shows that decision for a single invoice line

Add the MarkupTrans Data Source
The standard ER configuration for Invoice model mapping never reads the MarkupTrans table, so before we can retrieve line charges, we first need to make those records available in the mapping.
Create a derived Invoice model mapping ER configuration and open it in the ER designer. Then add a new Table records root data source named MarkupTransRecords that points to the MarkupTrans table.

At this point, the mapping can read every record from MarkupTrans. The next three calculated fields filter those records to the charges belonging to the current invoice line.
Determine Which Charges Belong to the Current Line
Create the following three calculated fields under $SalesInvoiceTmp_Lines. Together, they identify the correct record and retrieve the corresponding MarkupTrans records.

Step 1. Determine the Referenced Table
The first calculated field determines whether the charges for the current line reference SalesLine or CustInvoiceTrans. A pro forma invoice hasn't been posted yet, so InvoiceId is empty and the charges still reference SalesLine. Once the invoice is posted, InvoiceId contains a value and the charges reference CustInvoiceTrans.
Create a calculated field named $ChargeSourceTableId and use the following formula:
|
1 2 3 |
IF(@.InvoiceId = "", TABLENAME2ID("SalesLine"), TABLENAME2ID("CustInvoiceTrans")) |
Because MarkupTrans.TransTableId stores the referenced table as a numeric ID rather than its name, we cannot compare it directly with "SalesLine" or "CustInvoiceTrans". The TABLENAME2ID() function converts the table name into the corresponding table ID, allowing the values to be compared.
As a result, $ChargeSourceTableId gets the value:
- SalesLine table ID for pro forma invoice, and
- CustInvoiceTrans table ID for the posted invoice.
Step 2. Determine the Referenced Record
Once the table has been identified, we also need the corresponding record. The invoice line already contains the required RecId: SalesLineRecId_DR for pro forma invoices and JourTransRecId_DR for posted invoices.
Create another calculated field named $ChargeSourceRecId and use the following formula:
|
1 2 3 |
IF(@.InvoiceId = "", @.SalesLineRecId_DR, @.JourTransRecId_DR) |
Together, $ChargeSourceTableId and $ChargeSourceRecId identify exactly the record referenced by MarkupTrans.
Step 3. Retrieve the Line Charges
Now that both the referenced table and record are known, retrieving the related charges becomes straightforward. The final calculated field filters MarkupTransRecords using the values returned by the previous two calculated fields.
Create a calculated field named $LineMarkupTrans and use the following formula:
|
1 2 3 |
FILTER(MarkupTransRecords, AND(MarkupTransRecords.TransTableId = @.'$ChargeSourceTableId', MarkupTransRecords.TransRecId = @.'$ChargeSourceRecId')) |
The filter returns only the MarkupTrans records that belong to the current invoice line, regardless of whether the invoice is posted or pro forma.

Bind the Charges to the Invoice Model
The calculated field now returns the correct MarkupTrans records for each invoice line, but those records are still only available within the model mapping. To make them available to the report, they must be bound to the Invoice model.

First, bind the Markup transaction (MarkupTransaction) collection to @.'$LineMarkupTrans'.
Then bind the child elements to the corresponding fields from MarkupTrans: Code to @.MarkupCode, Value to @.Value, Description to @.Txt, TaxGroup to @.TaxGroup, and TaxItemGroup to @.TaxItemGroup. In these expressions, @ represents the current MarkupTrans record returned by $LineMarkupTrans.
| Model element | Bind to |
|---|---|
| Markup transaction (MarkupTransaction) | @.'$LineMarkupTrans' |
| Charge code (Code) | @.MarkupCode |
| Charges value (Value) | @.Value |
| Description | @.Txt |
| Sales tax group (TaxGroup) | @.TaxGroup |
| Item sales tax group (TaxItemGroup) | @.TaxItemGroup |
Once these bindings are complete, every invoice line exposes its own MarkupTransaction collection in the report data source. The charges are now available to the report template and can be printed beneath the corresponding invoice line.

Verify the Result Using the DDSP
Before updating the report template, verify that the new data is available in the report data source.
Configure the Sales Invoice report to use your derived ER model mapping and an ER-based Docentric template.

Then enable Generate DDSP in the report generation options and print a Sales Invoice that contains line charges. This will also generate the DDSP and download it through the browser. Make sure to test both pro forma and posted scenario.

Open the generated DDSP file and navigate to the InvoiceLines node. Each invoice line should now contain a MarkupTransaction collection with the corresponding line charges.

Add the Line Charges to the Template
Open the CBD Sales Invoice template in the Docentric AX Designer and import the newly generated DDSP. The MarkupTransaction collection now appears as a child of each invoice line.

Add a nested List tagging element bound to the MarkupTransaction collection and place the required fields inside it, such as the charge code, description, and amount.

After applying the updated template, print the Sales Invoice again. Each invoice line now displays its own charges, while the same ER mapping works for both posted and pro forma invoices.

Summary
The key to this customization isn't the ER formulas themselves, but understanding how the underlying data is related. Once you identify which business record MarkupTrans references, the remaining implementation becomes a straightforward combination of calculated fields, model bindings, and template design. The same analysis can be applied to many other Electronic Reporting customizations.